Civil 3D Subassembly Composer to Infraworks Integration

Categories: Guides
Wishlist Share
Share Course
Page Link
Share On Social Media

About Course

This comprehensive guide is your ultimate companion on the journey to creating tailored subassemblies. Through a detailed, step-by-step approach, you’ll unlock the full potential of the platform and discover how to adapt it to your unique project needs.

Read this book alongside your project specifications to:

  • Explore the platform’s capabilities
  • Apply project-specific parameters
  • Meet precise design requirements

Empower yourself to design custom subassemblies efficiently and effectively. Get started today!

What Will You Learn?

  • This comprehensive guide is your ultimate companion on the journey to creating tailored subassemblies. Through a detailed, step-by-step approach, you'll unlock the full potential of the platform and discover how to adapt it to your unique project needs.
  • Explore the platform's capabilities
  • Apply project-specific parameters
  • Meet precise design requirements

Course Content

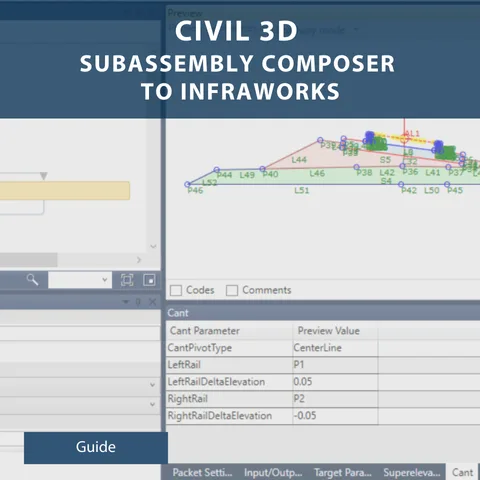
Steps for Creating the Subassembly
1 Step 1 Sketch your Design 1.1 Draw your subassembly design either by hand or on AutoCAD to act as a visual representation of your design. By doing this, you will be able to detect any discrepancies or additional features, specifications or attributes you would like to incorporate. 2 Step 2 Navigate to your Subassembly Composer App 2.1 Open up your Autodesk Subassembly Composer, which comes as part of your Civil 3d package. In your Window explorer, type in Civil 3D Subassembly Composer and it should be available. Alternatively if you don’t find it, please visit Autodesk - Account and under ‘products and services’ you are able to search and download it directly from the website.

  • Step 1 Sketch your Design
  • Step 2 Navigate to your Subassembly Composer App
  • Step 3 Input Parameters
  • Step 4 Adding the Target Parameters
  • Step 5 Its time to draw your subassembly
  • Step 6 Adding Shapes
  • Step 7 Creating Logic
  • Step 8 Applying Codes
  • Step 9 Parameters to replace your static values
  • Step 10 Assigning Shape Codes from Input/Output Parameters
  • Step 11 Testing your Subassembly
  • Useful Recourses